Project Panel
As soon as the installation is done, click "Finish" to open the software and you will see the Project Panel of AnyFlip.
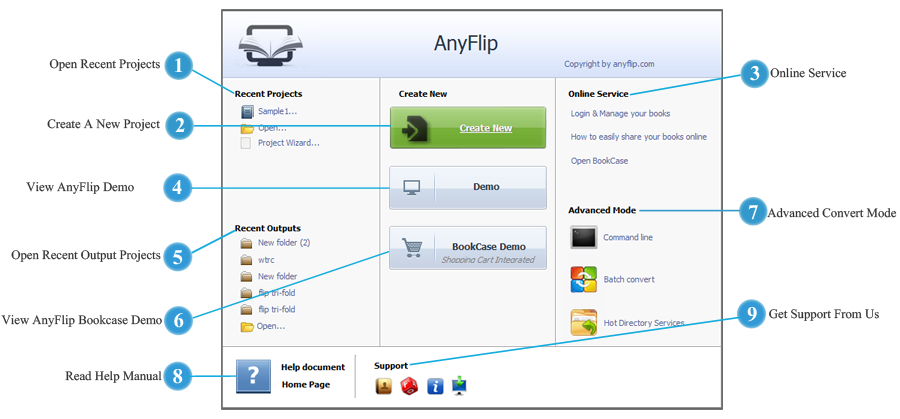

 Create A New Project
Click the green "Create New" button and import PDF file(s) in the Import window. And then you can customize the import settings.
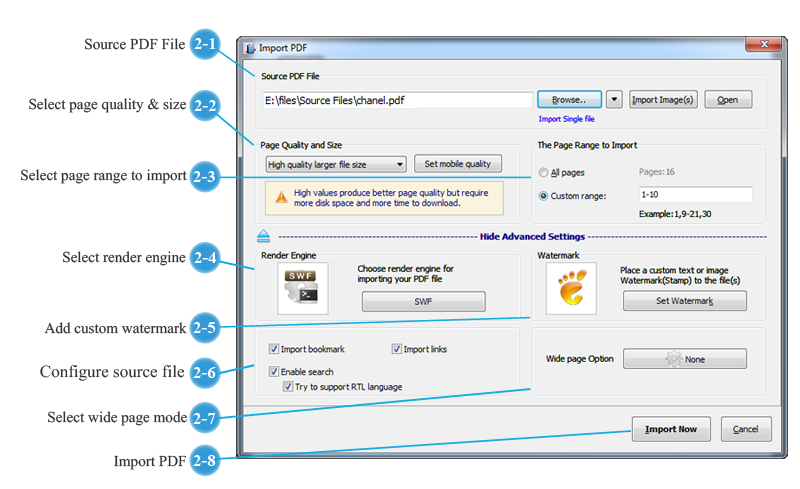

Click the "Browse.." icon to open the browser window to choose a PDF file.
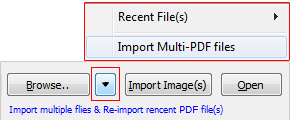
Optionally, you can click the inverted triangle to import multiple PDF files to carry out batch conversion.
Besides, you can click the "Import Image(s)" icon to import and convert images to a page flip image gallery.
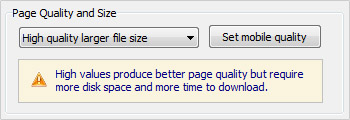
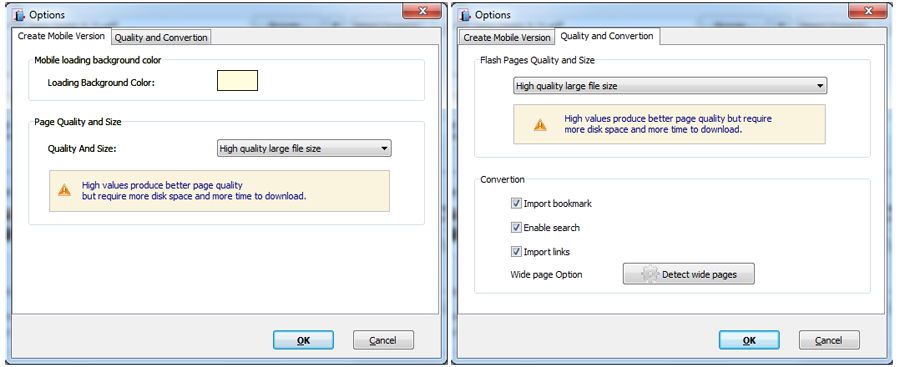
There are 5 types of page quality and size for you to choose for the output flipbook. High values produce better page quality but require more disk space and time to download.

In addition, you can click "Set mobile quality" to define settings for the mobile flipbook edition.
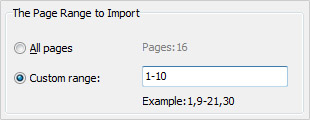
After you select a PDF file, you can then import all pages or specific pages to a flipbook.

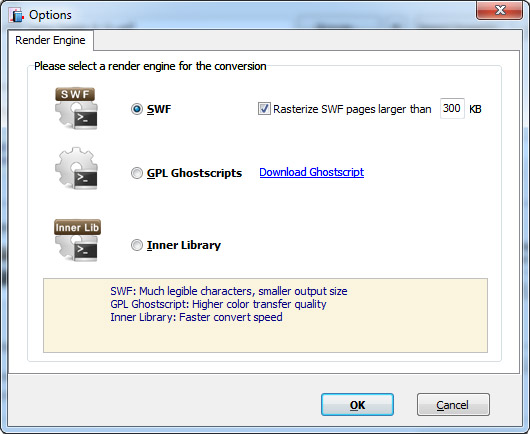
There are 3 render engines for you to choose: SWF, GPL Ghostscript and Inner Library.

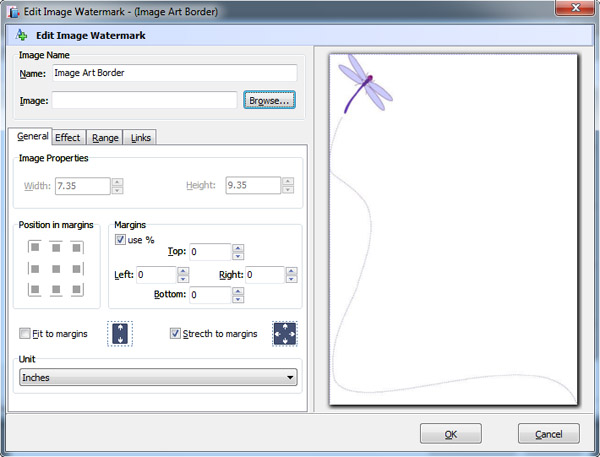
Click the "Set Watermark" icon to open the Watermark window. And you can add and customize watermark: Text watermark, Dynamic Datetime watermark, Image watermark, PDF watermark and Shape watermark.
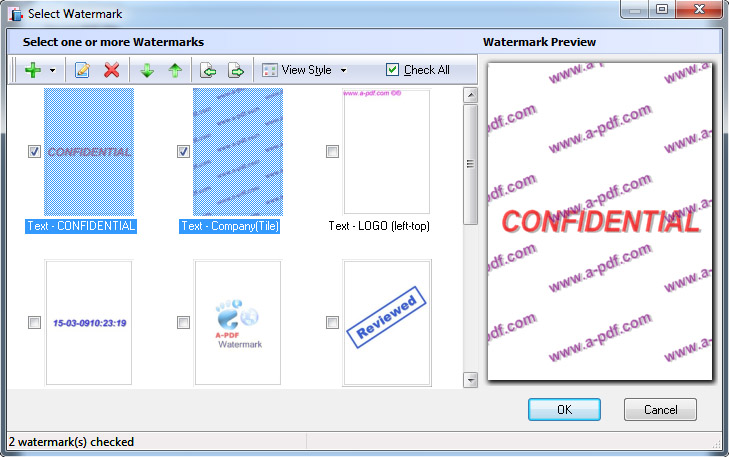
And after you select a watermark, you can customize it with various settings.
Edit Text Watermark
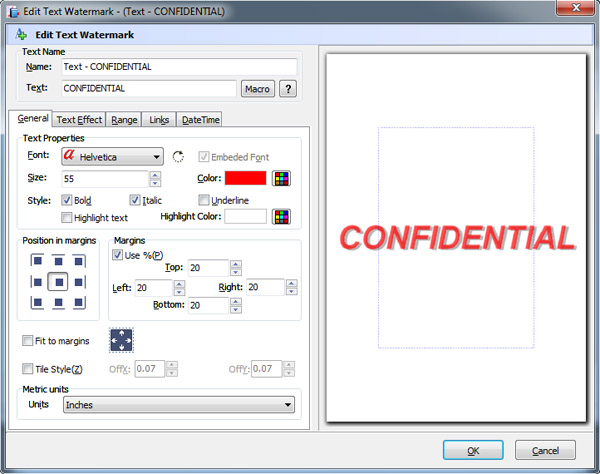
Edit Text Watermark

Import bookmark: Import the Table of Contents of your source PDF file.
Import links: Keep the links of the source PDF and make them active links in the flipbook.
Enable search: This option can make the flipbook text content searchable. Readers can search content with specific keywords. And you can select "Try to support RTL language" option so Right-to-Left language (e.g., Arabic) can be searched too.
 Online Service

Click "Login & Manage your books" to login with your registered AnyFlip account to manage your books on AnyFlip Cloud Platform;
Click "How to easily share your books online" to open tutorial on “how to publish the flipbook online to web page or blog”.
Click "Open BookCase" to create and manage the bookcase.


